DIY Drawstring Backpack
Drawstring backpacks have been such on vogue recently and they take become the perfect solution to bring with yourself everyday essential stuff. No affair what size or fabric they're made, with their casual urban expect you'll desire 1 for yourself. Guess what? You can make it with your favourite patterned material, giving it you personal touch. Going to the gym? Backpack your stuff. Twenty-four hours out with your friends? Backpack all the essentials. Luncheon to bring to the office? Backpack it! Tons of uses for a fun DIY.

I'thousand personally fan of leather backpacks which can exist nevertheless made following this tutorial but only if you accept a specific leather sewing automobile.
Materials:
- cotton cloth
- matching thread
- cotton ribbon
- scissors
- sewing machine
- pins

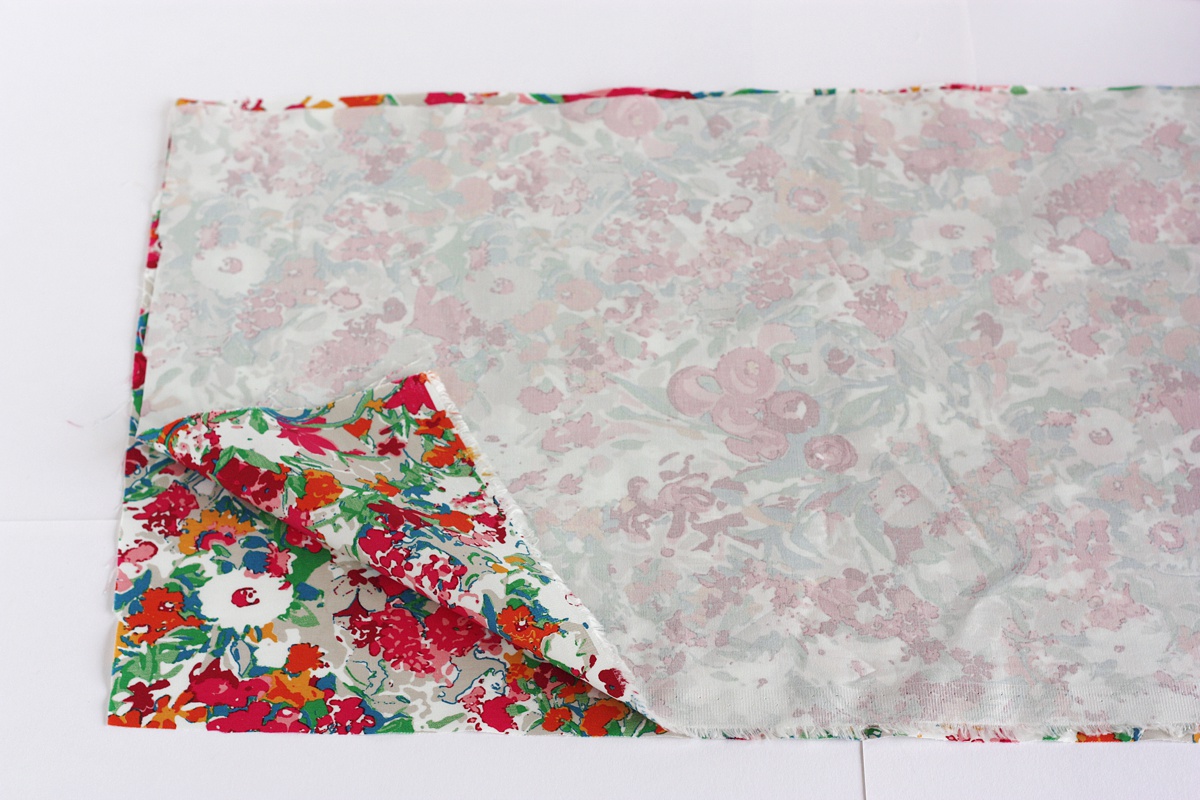
Start past cutting out two pieces of 17 x 11 inches fabric and identify them on the tabular array incorrect side facing you.
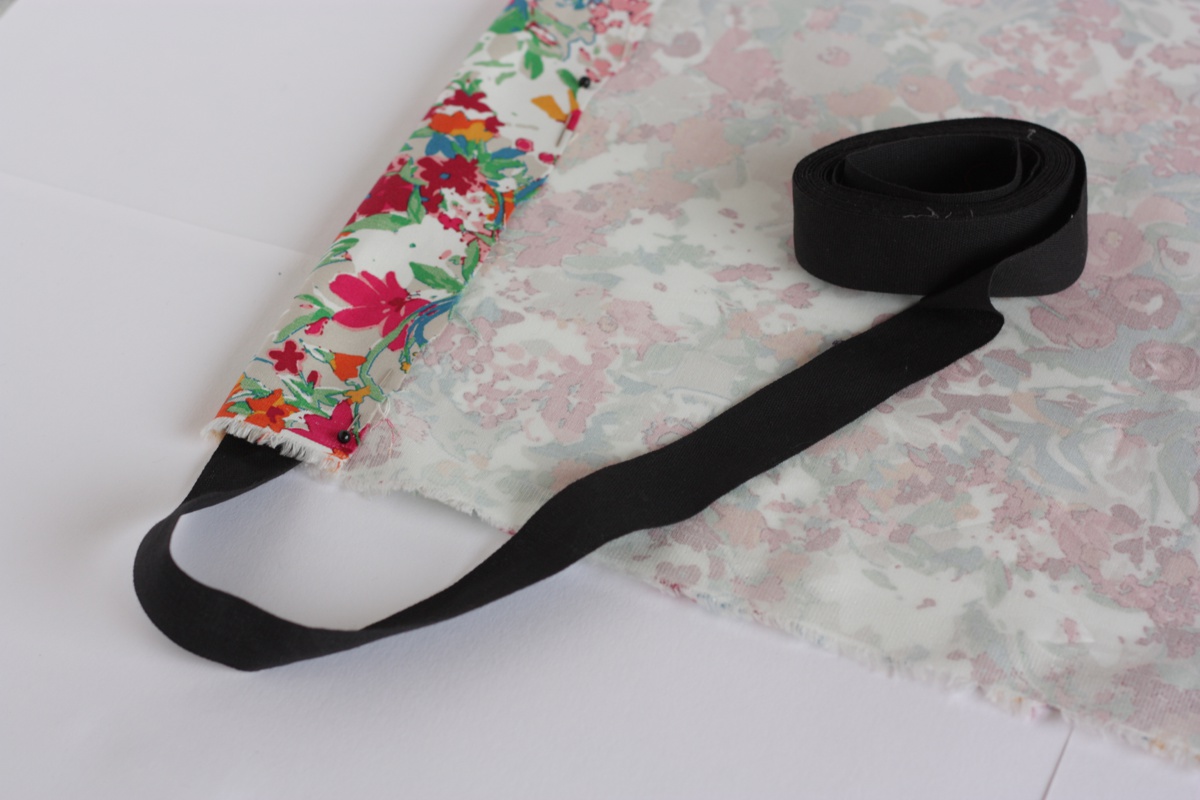
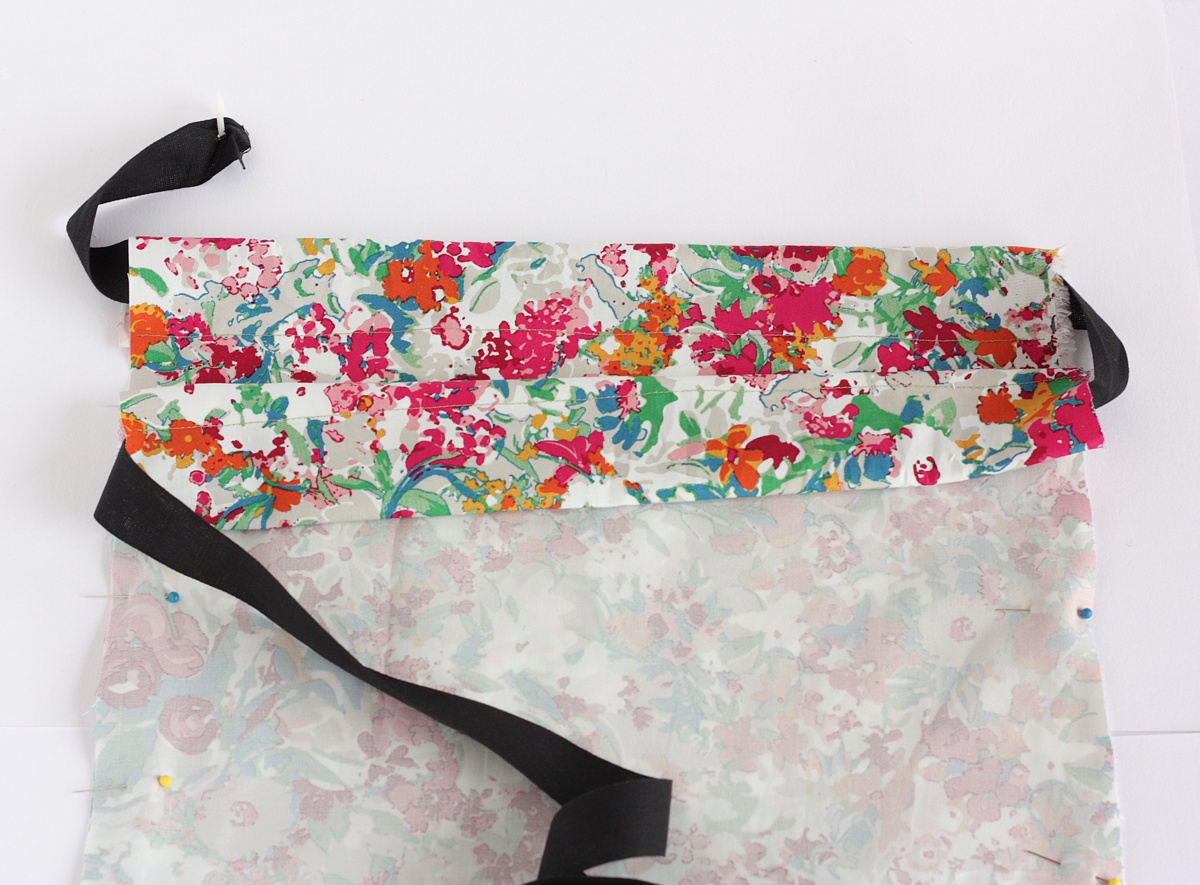
Using the cotton ribbon as a guide for the size, fold the brusk stop of the fabric and pin it in place. This will be the loop for the ribbon! Make the same to the other rectangle and stitch them.
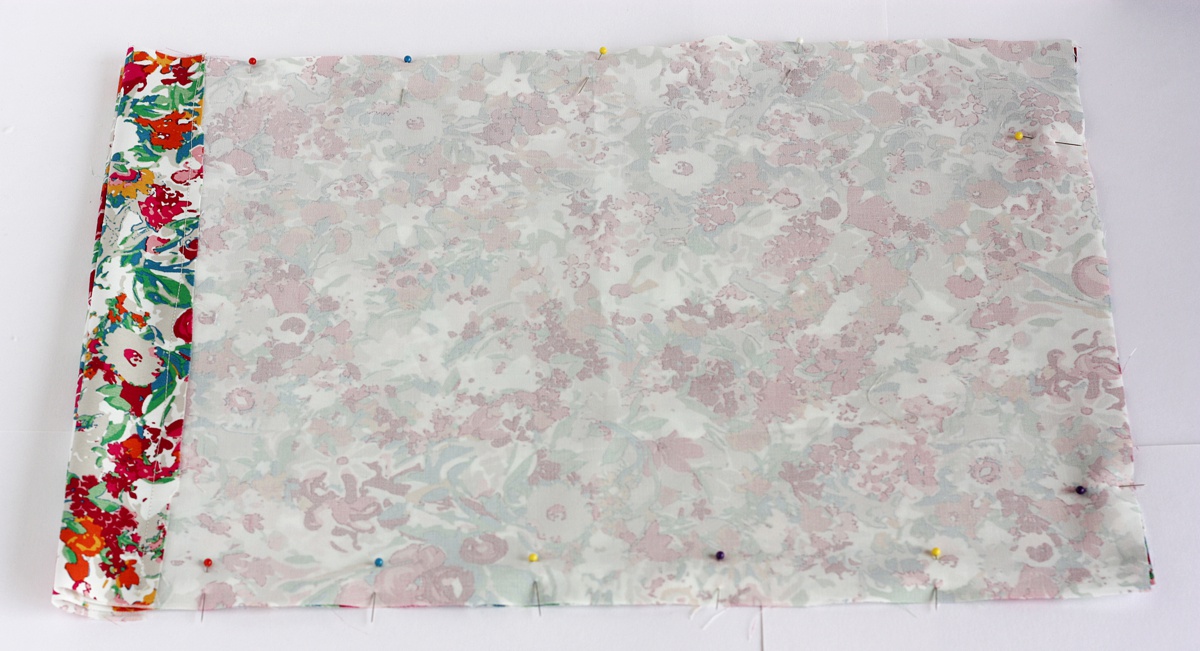
Pin the two rectangles together having right sides facing each other.
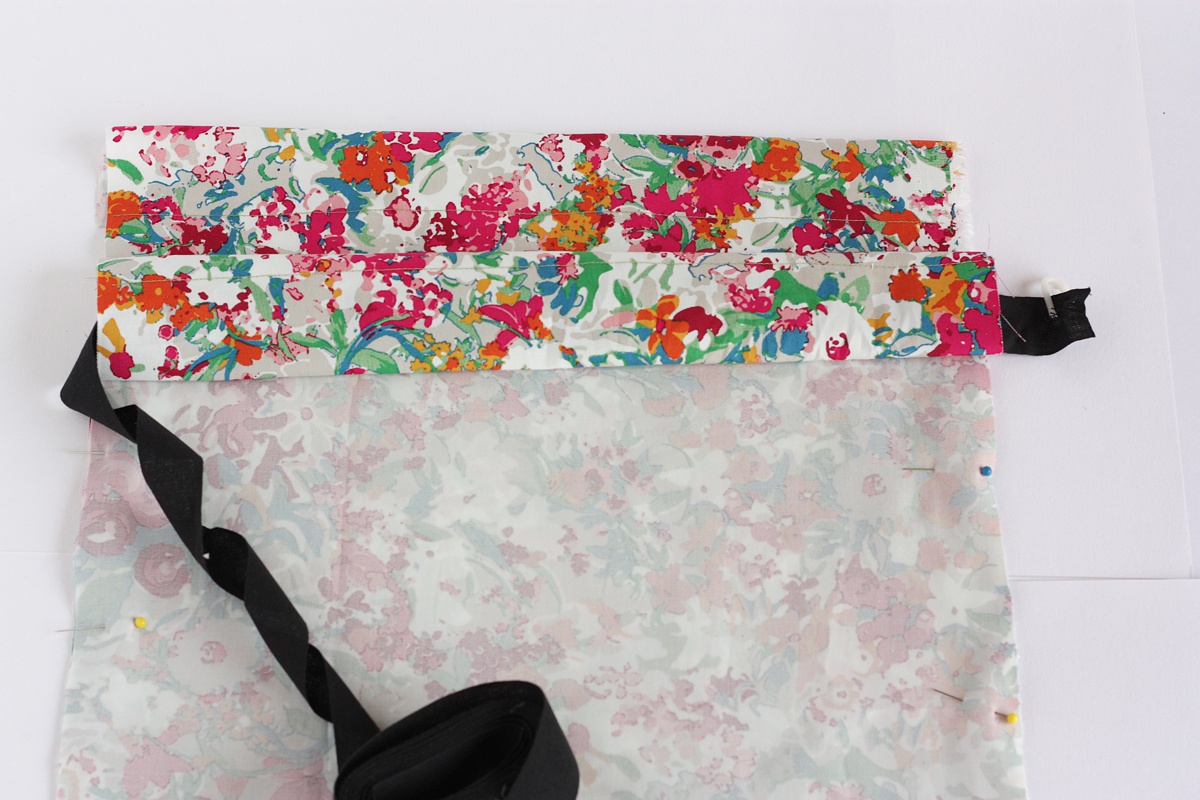
Now allow's brand the closing height magic. Your ribbon has to follow this path: inside from the left side on the elevation rectangle and out on the correct; and then inside the right of the bottom rectangle and out to the left; finally, once again inside the left side of the top rectangle and out to the right. You should end upwards with the ribbon going in the loop on the left and ending out on the correct. Make information technology flow on and then that it is long enough on both sides to make the straps afterward.
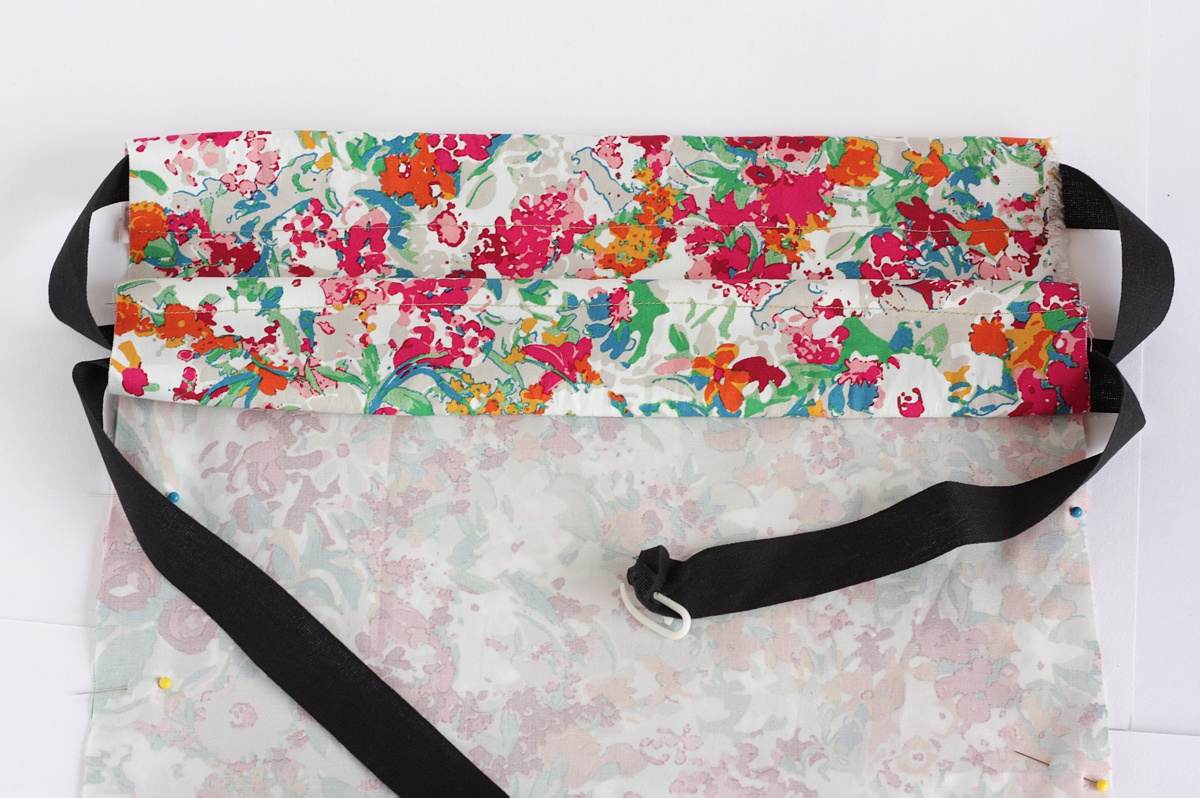
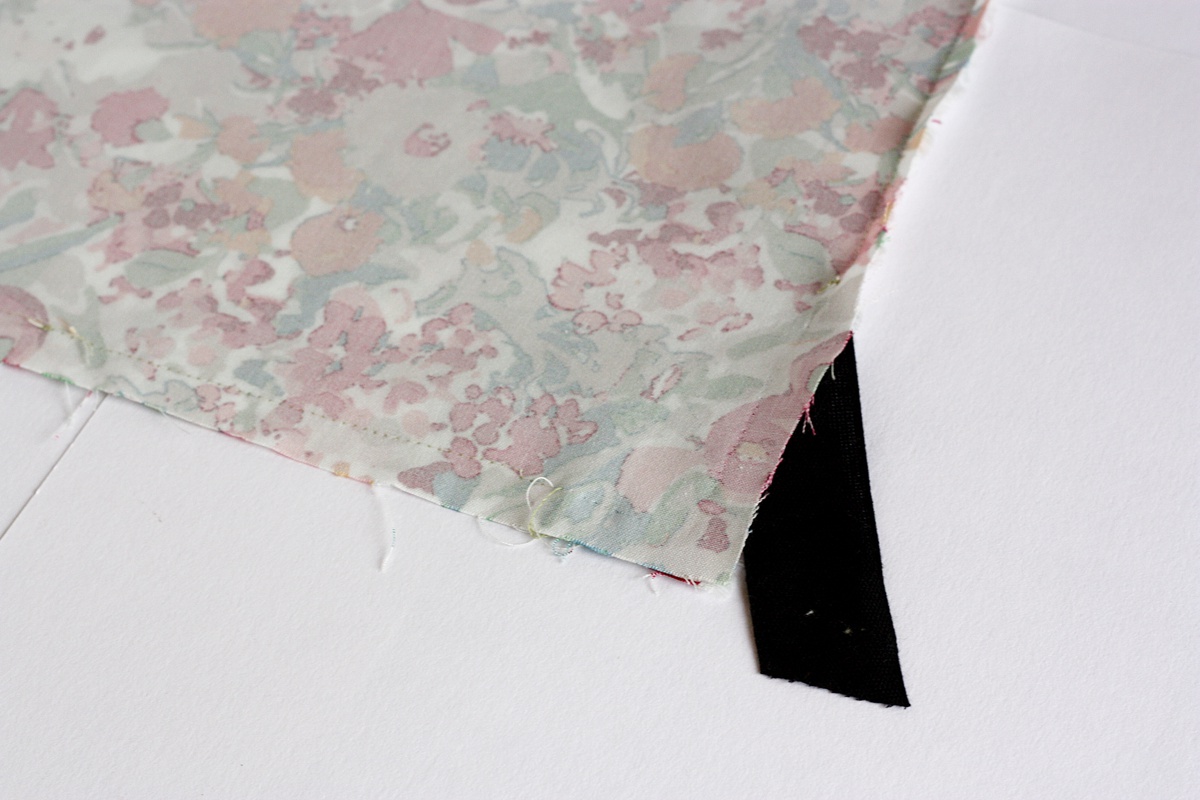
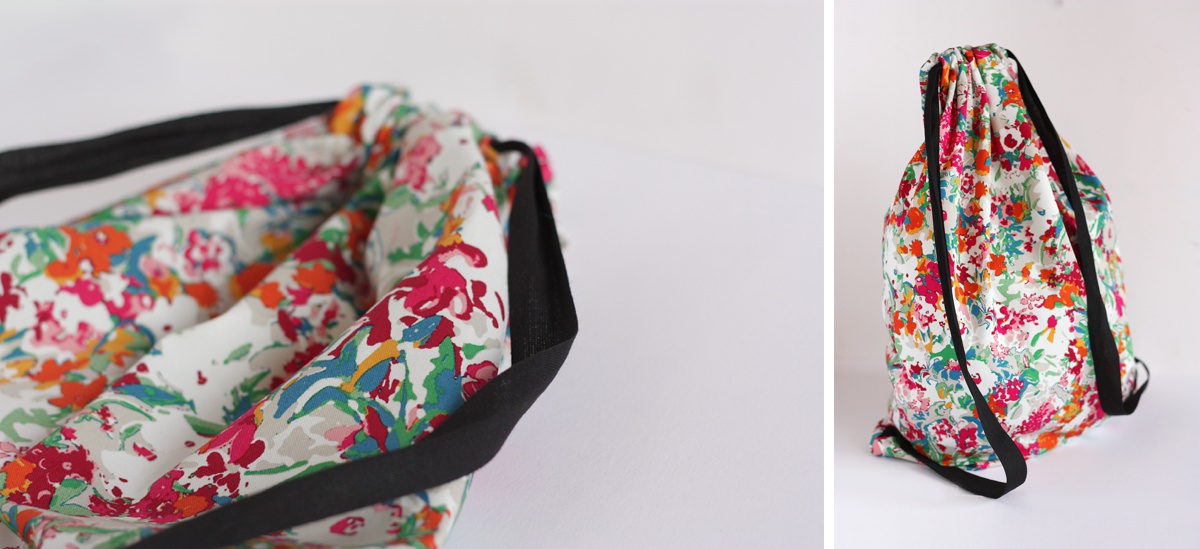
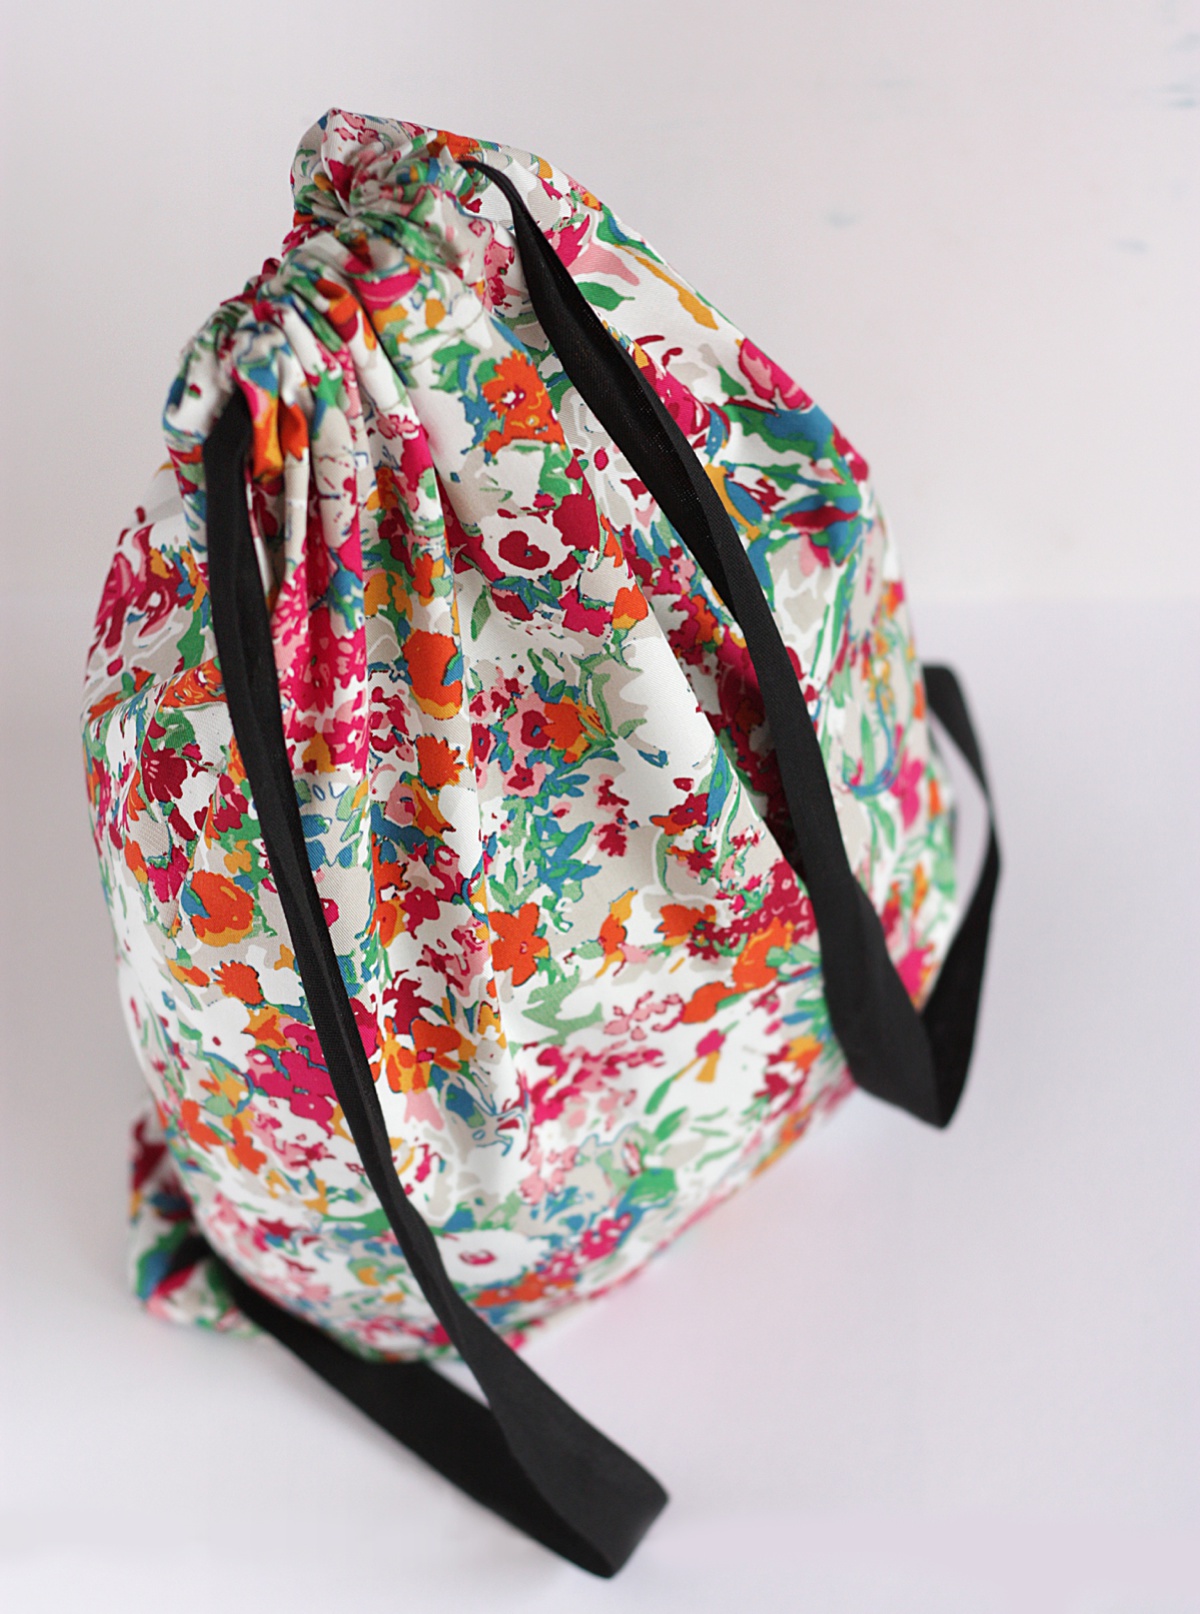
Now run up the along the sides of the rectangles, where we pinned before, but stop four inches from the bottom, as we'll have to secure the straps here. Next pace is to pull slightly airtight the top end, so yous'll take more ribbon to work with and you tin can obtain the perfect size for your shoulders with a "in use closing". Grab both straps and button them within the backpack, making them come out from the bottom edges we left open up. Scout out not to mix left and right one! Pivot them in place and sew. I recommend sewing 2 or 3 times to make them secure. Cut any exceeding ribbon and sew the lesser to shut entirely the rectangle.
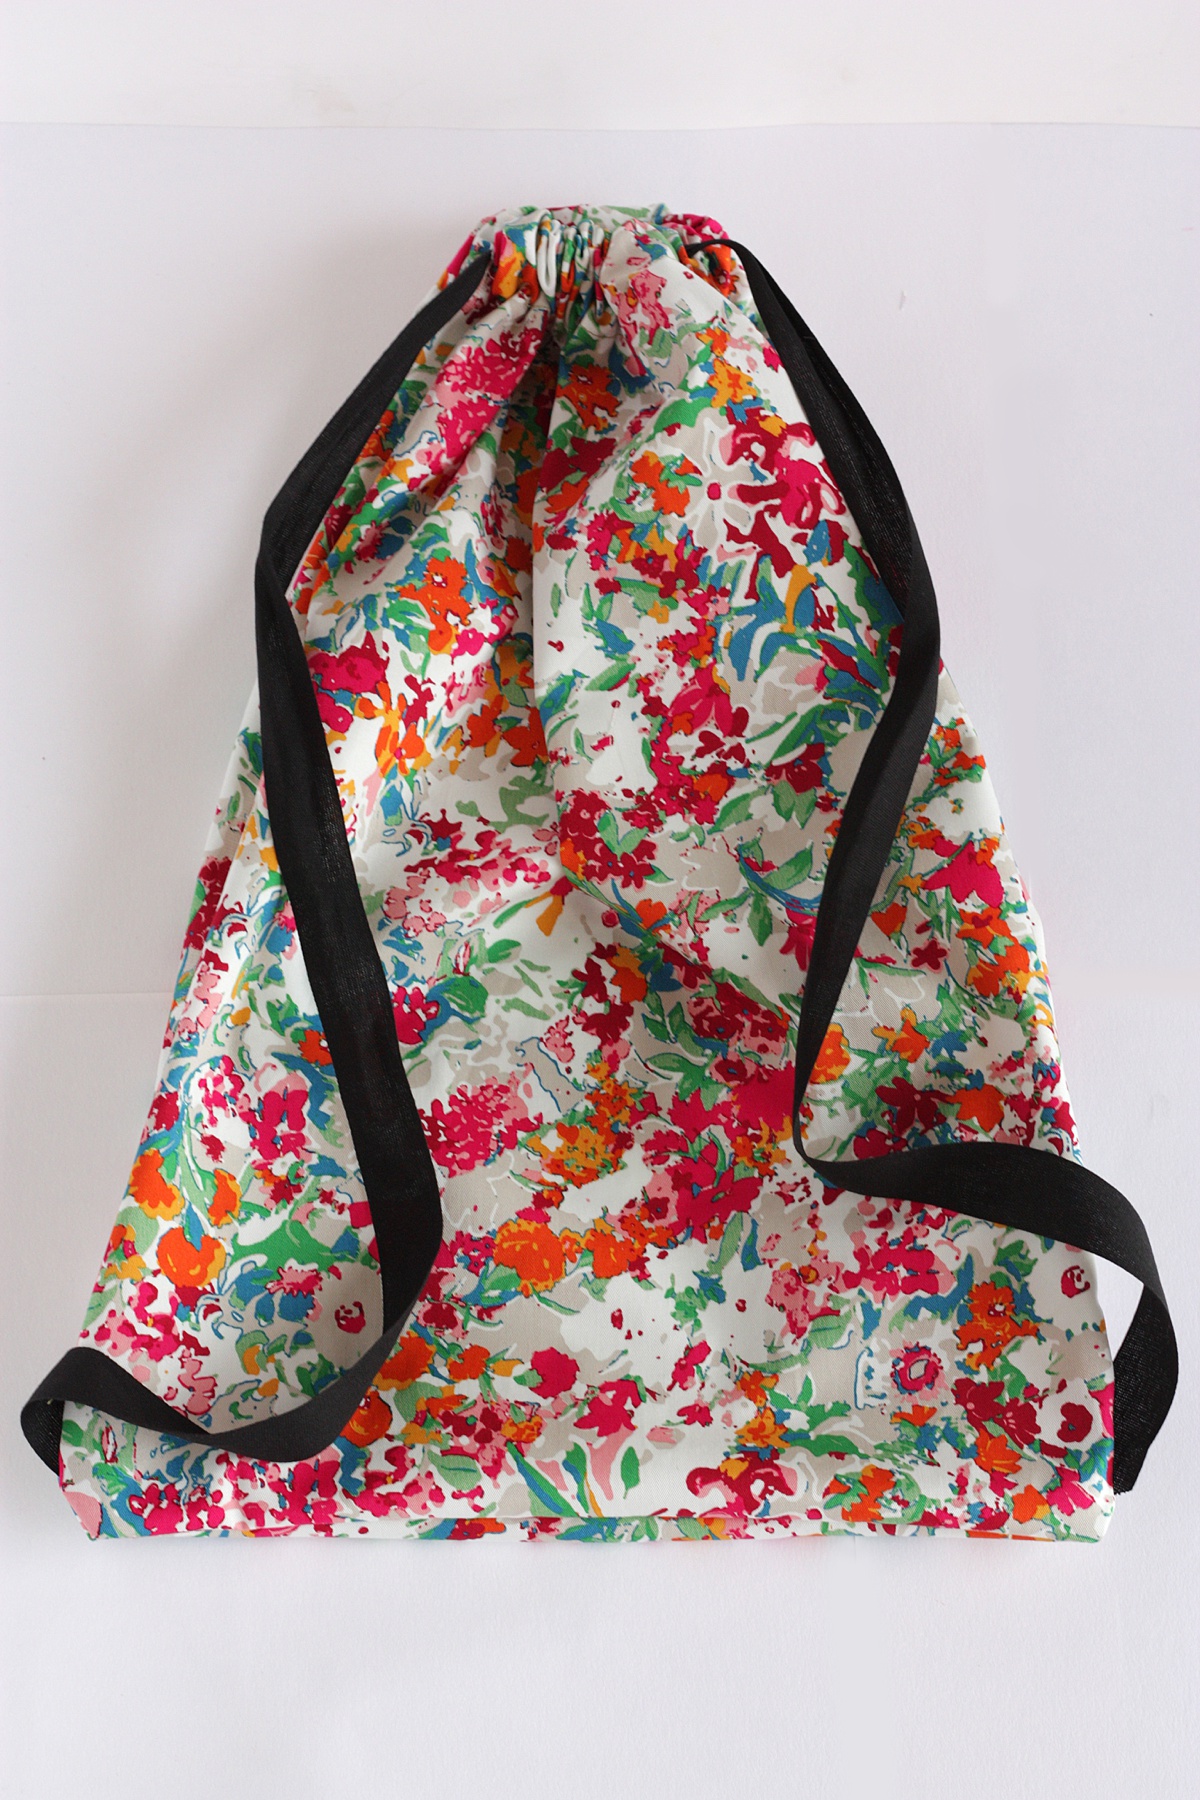
Finally, turn right mode circular and y'all accept your backpack! That was pretty easy and the final outcome is gorgeous. Now you tin go effectually and reply to people who inquire where you lot bought it: "Well, I did information technology actually".

Source: https://www.diys.com/how-to-make-a-drawstring-backpack/
Post a Comment for "DIY Drawstring Backpack"